
I made a post for kombucha a while back to provide a one-stop spot to describe my process, as I was sharing a SCOBY with a friend and figured I might as well get my advice all down in writing in case I share in the future. Now it’s time to outline my sourdough process for the same reason.
WARNING — I have never tried to mail a sourdough culture before, but I’m about to send a friend in Calgary some of my starter from Winnipeg. At first I was going to send a sealed bag of fresh fed starter in the mail. The more I thought about it, the less that seemed like a very good idea. I had visions of the starter expanding — as starters do — and then exploding… my friend on the receiving end just getting a messy envelope of goo and having to face down one pissed-off mail carrier. I read that dehydrating the starter is the best plan for culture-sharing long distance with sourdough, so that’s what happened. My friend will now be receiving this:
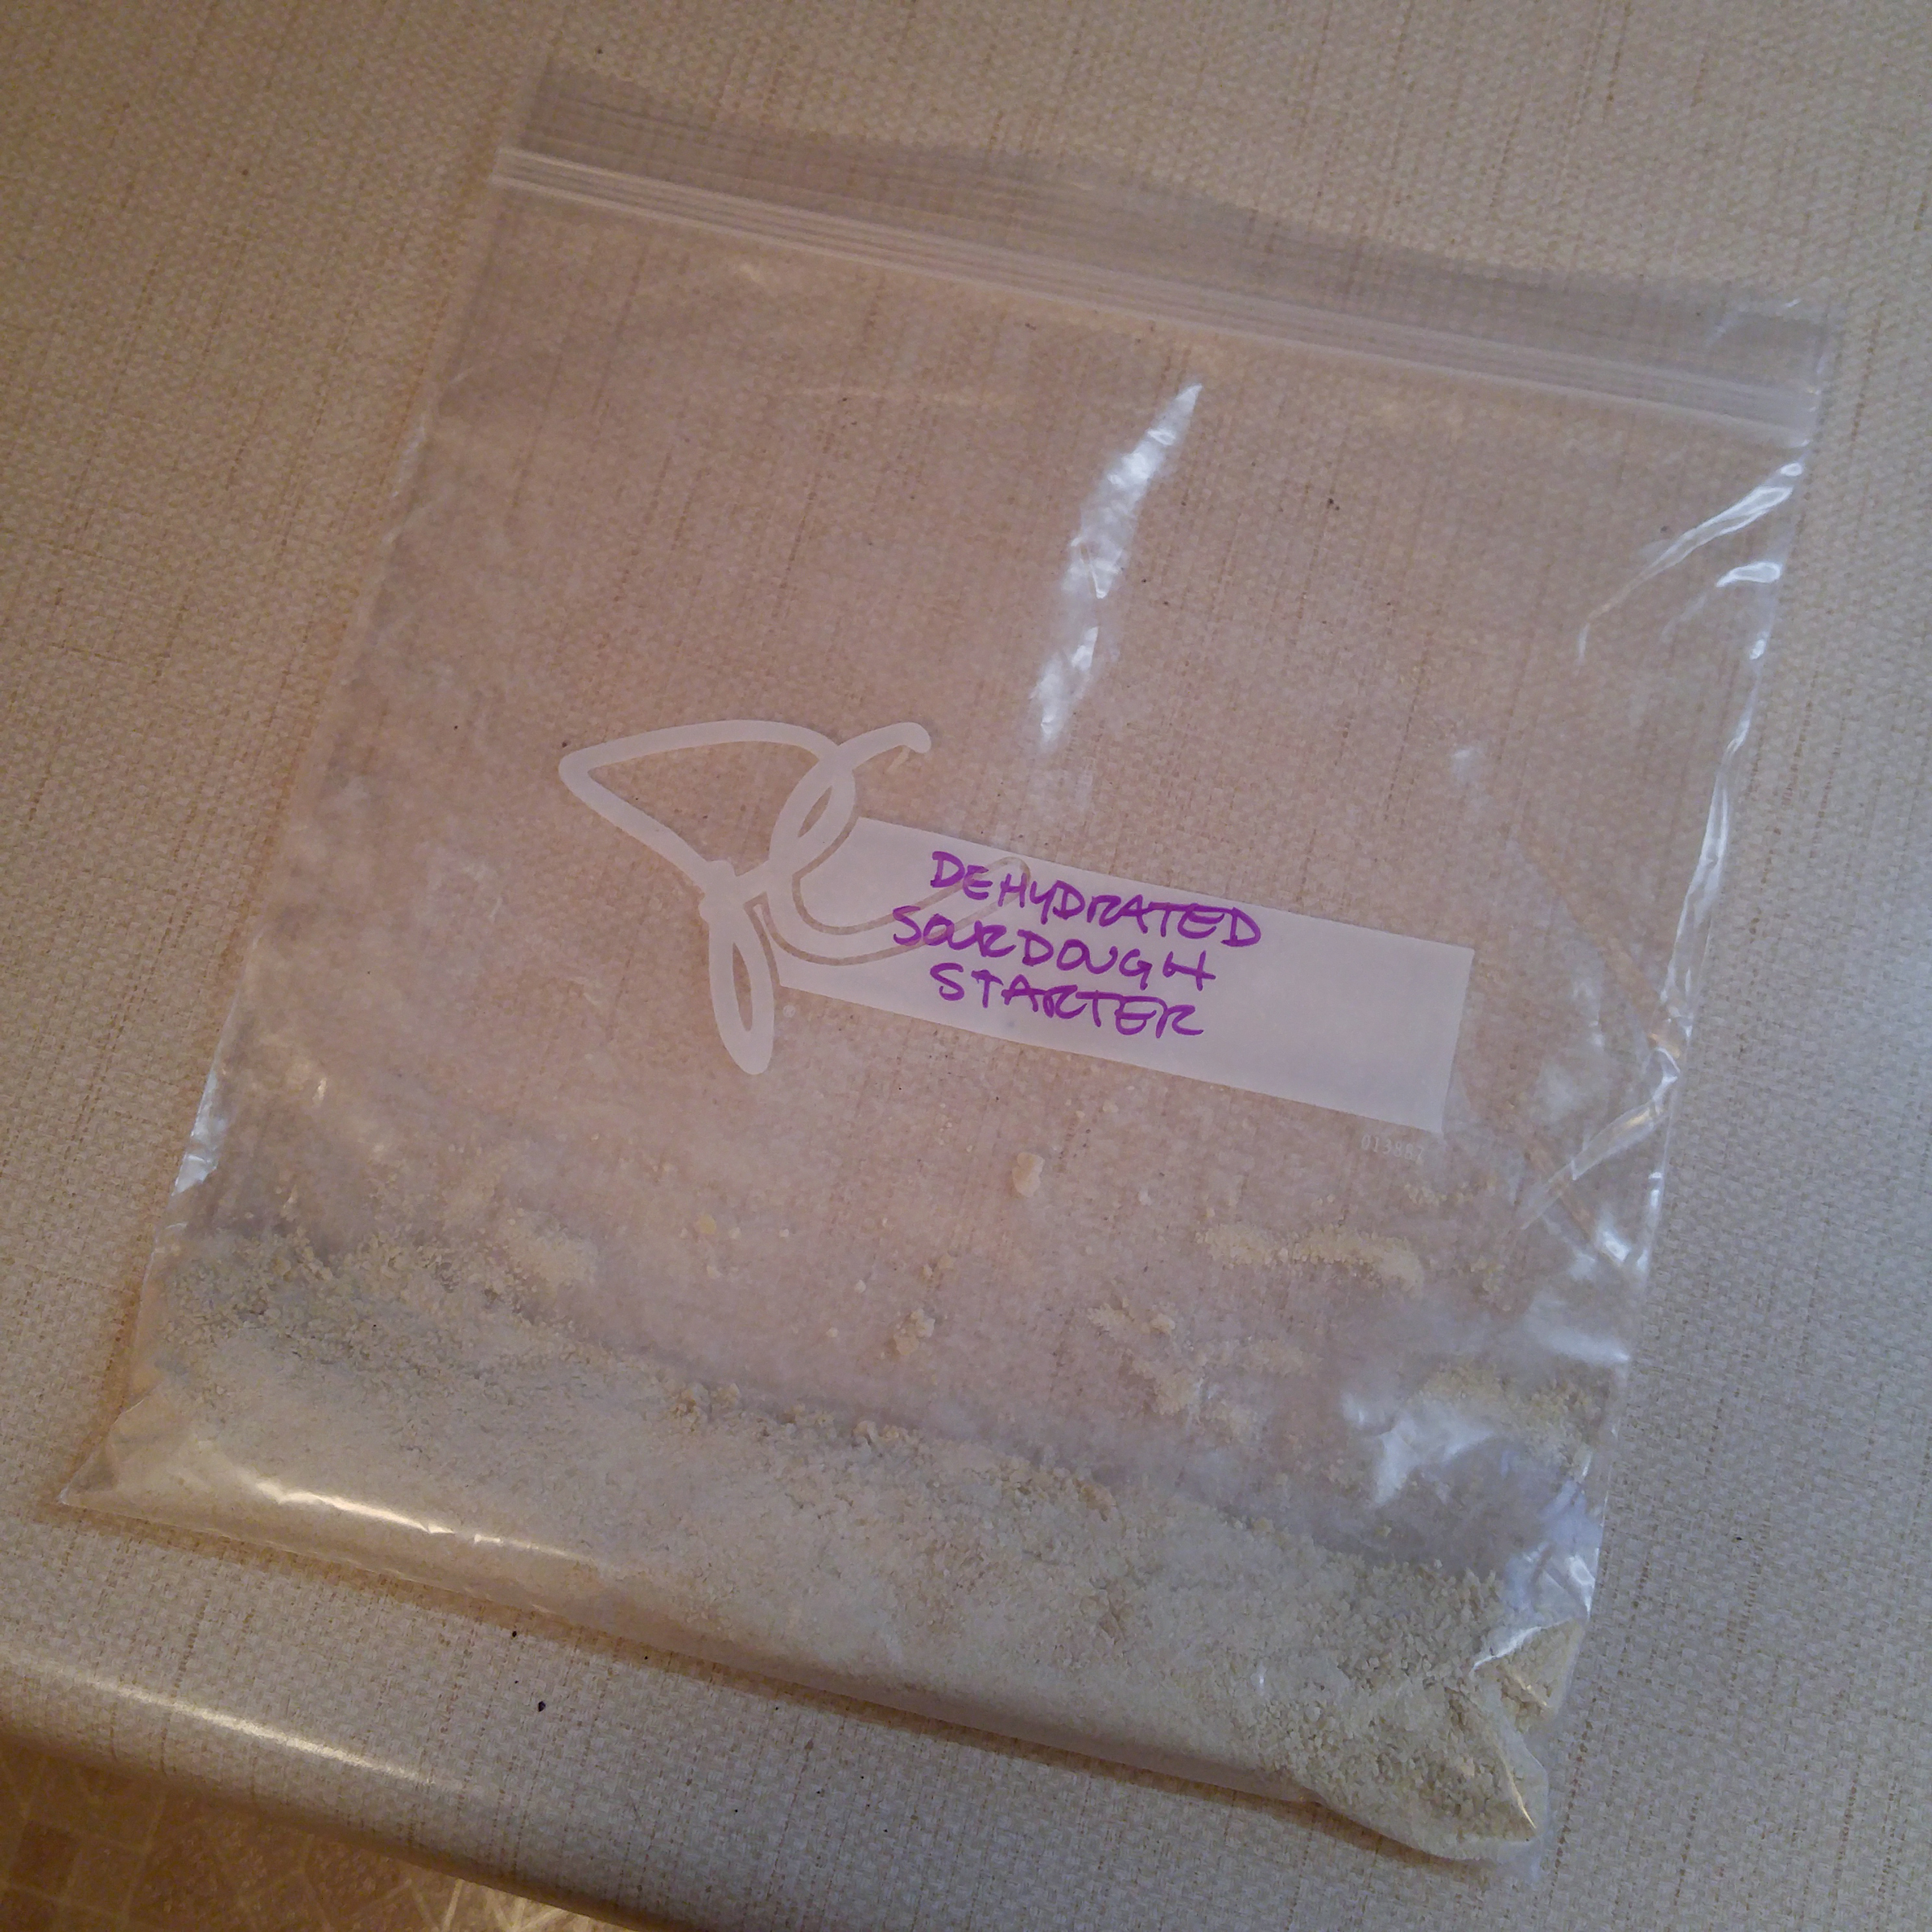
This was about 350 grams of starter when it was hydrated. It reduced to about 150 grams dried. I then put the dried chips in a coffee grinder and made a powder.
Rehydrating will be an experiment! I’ve had good luck with instructions from Cultures For Health before, so I’m going to suggest we use the technique outlined on this tutorial:
https://www.culturesforhealth.com/learn/sourdough/activating-dehydrated-sourdough-starter-video/
(I saved some of the dehydrated starter. My plan is to try the re-hydration on my end too. I’ll update this with photos and commentary when the experiment is complete.)
Note that this bag contains about 150 grams of starter. The Cultures For Health kits contain just 5.4 grams (yes, five-point-four)! So the first step is to measure out just over 5 grams. That’s like a scant tablespoon.
Now…. Assuming we achieve a successful reactivation of the culture through this process it will need to be maintained. I’m going to describe my process. This can be used to maintain any viable established culture, whether you start from scratch or from a culture sharing exchange.
First…. Anyone who knows me know I’m WORDY. I think I have some good info to impart, but I’ll admit it can get to be a little much. For that reason I’m providing links to a couple websites that also describe how they maintain their sourdough starters. If the details of my process are too verbose to be of much use at first, perhaps later it will make more sense. If you run into problems, perhaps what I wrote will help. Sourdough is definitely one of those “learn by doing” things, but you have to start somewhere! As with my disclaimer on the kombucha brewing and care, I promise you this is not hard or time consuming, I just make it seem like it!
www.weedemandreap.com/feeding-your-natural-yeast-starter/
Maintaining a sourdough culture is a cycle, but I have to pick a starting point, so I’ll begin at the point that you remove your starter from storage in the fridge, and we’ll end at putting it back into the fridge.
If you want to bake a loaf of bread or other sourdough recipe you’ll need to take your starter out of the fridge and start the feeding process. Even if you don’t want to bake, you’ll still need to feed your starter every week or two in order to keep it healthy. I try to feed mine every weekend whether I’m baking or not, though I’ll admit that often it’s every two weeks now that it’s strong enough that I can get away with it! Keeping a sourdough starter is like keeping a pet. It is alive, after all. Your starter is a community of yeast and bacteria. Without them you’d just have paste!
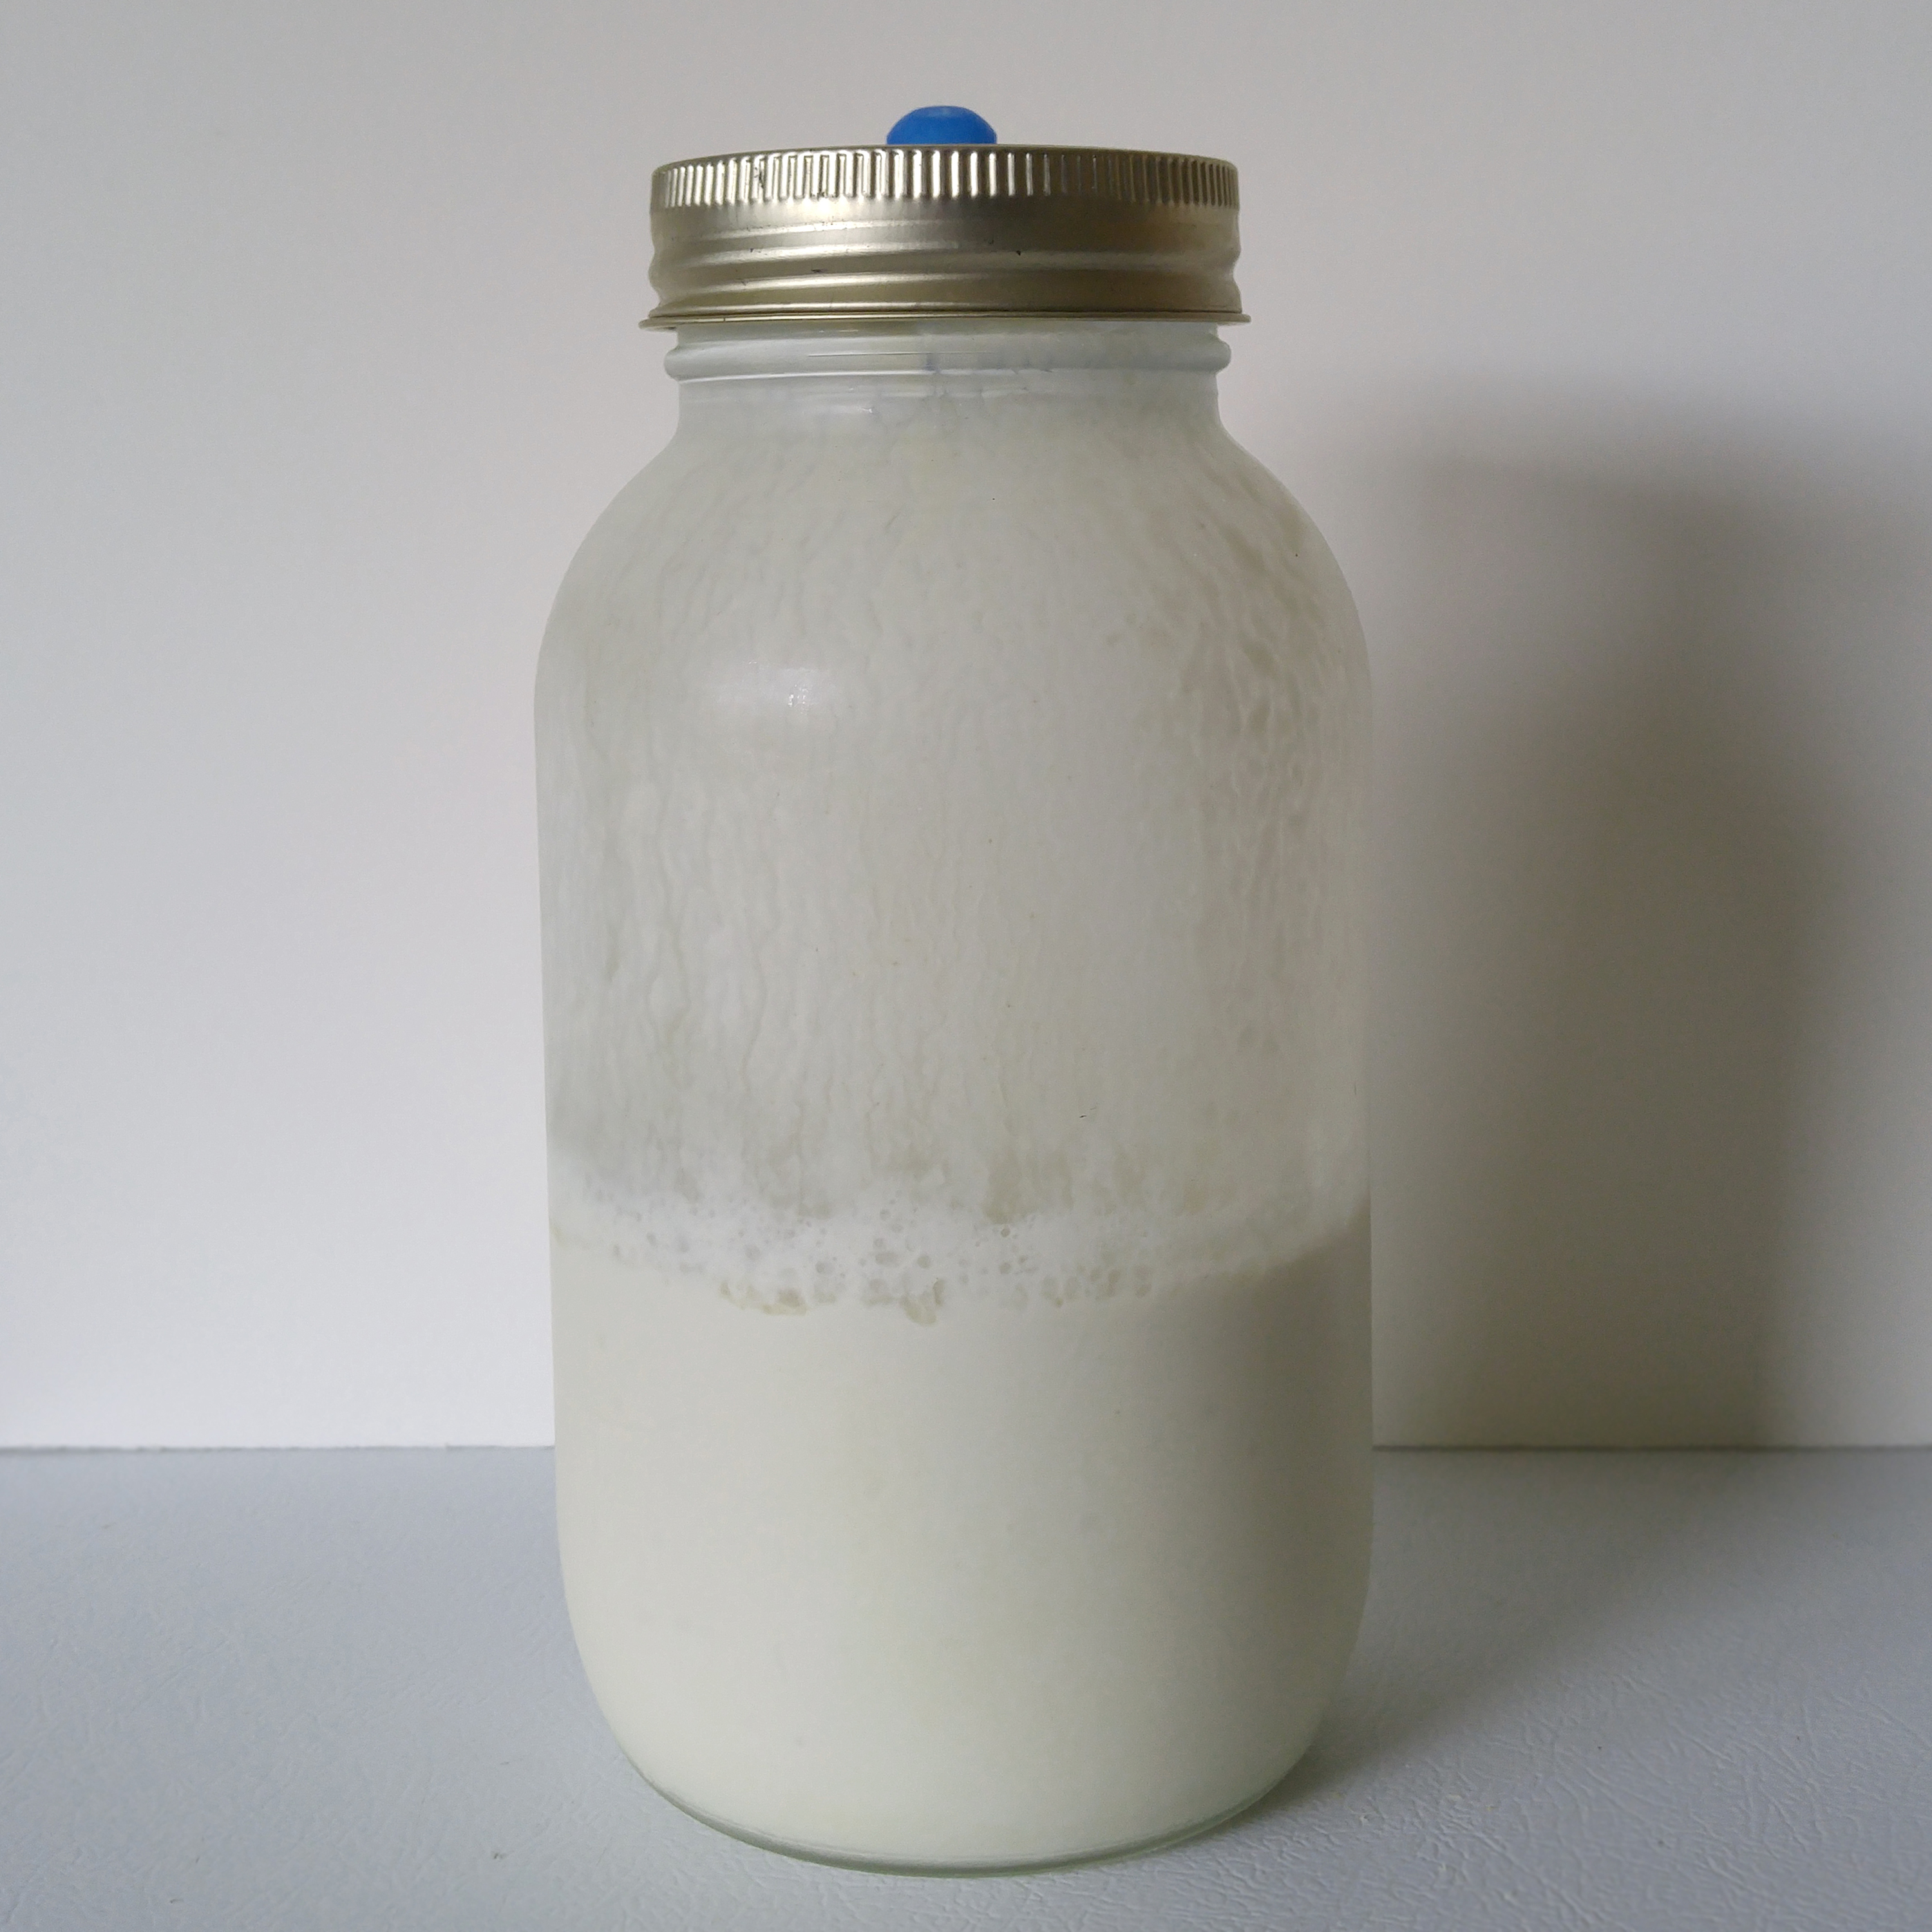
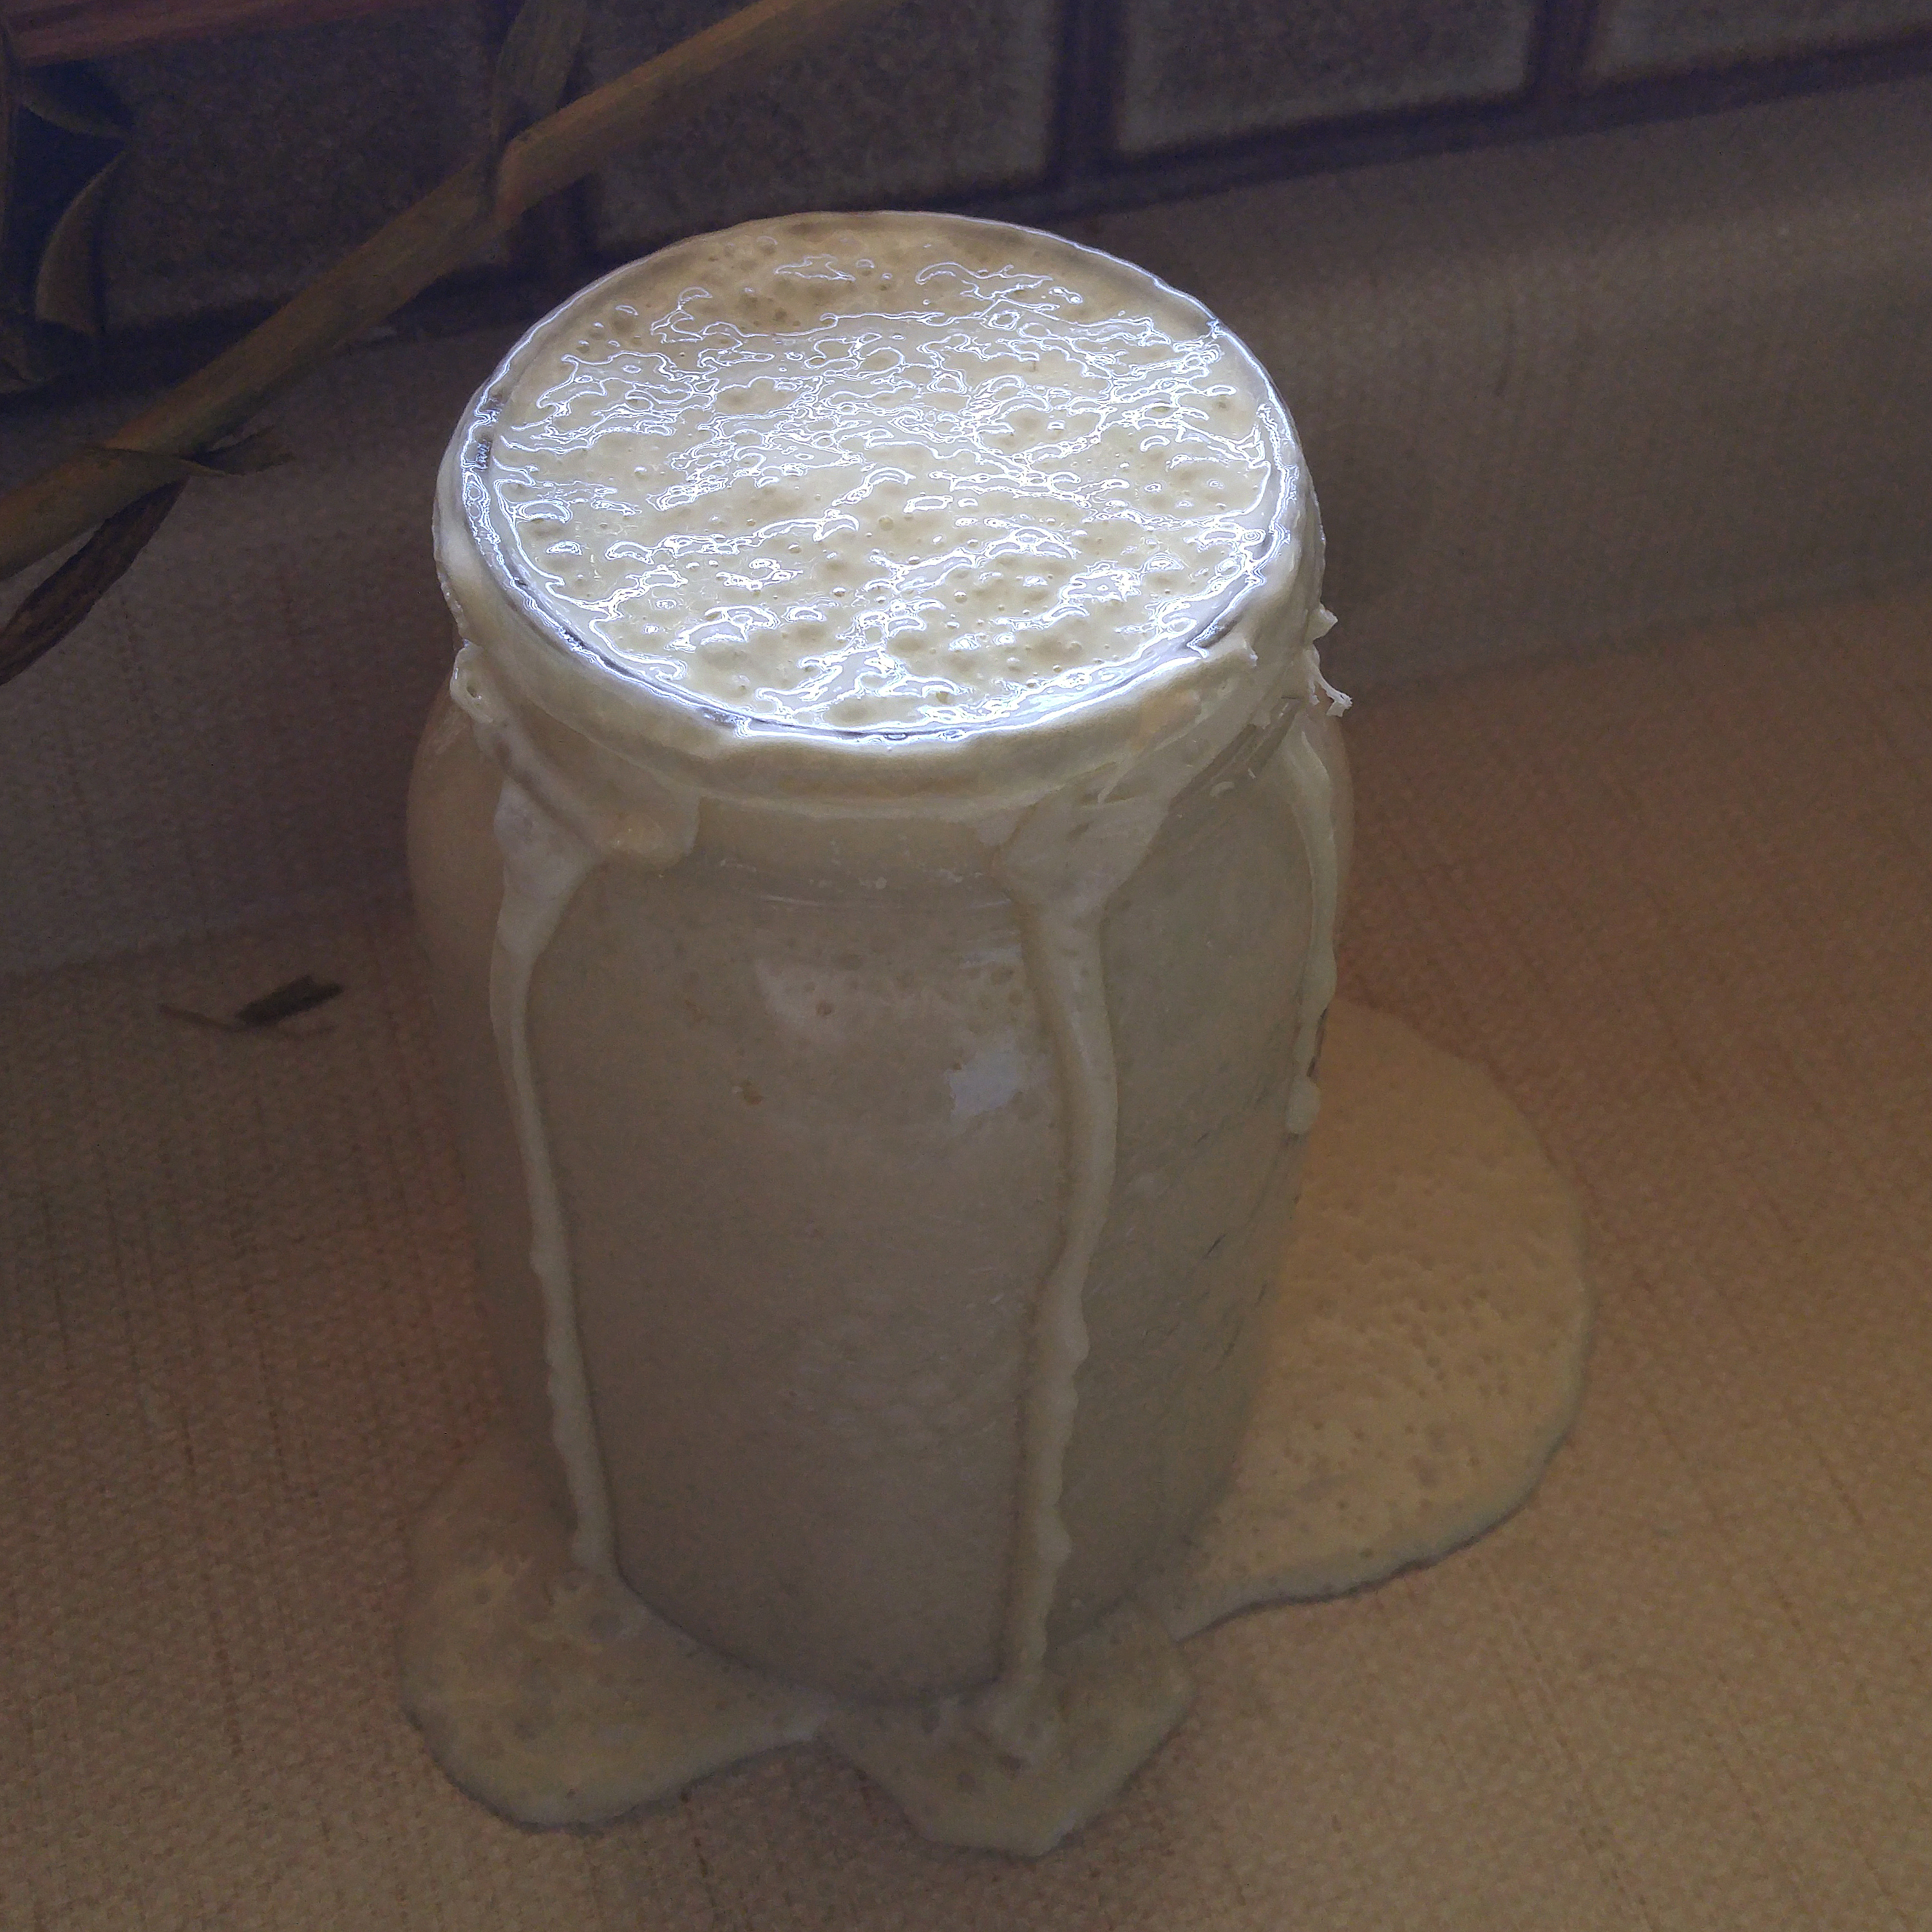
After your starter has been living in the fridge for a week (or more) it might have a variety of appearances, many of which are OK. Ideally it looks more like the picture above, though it might not have as many bubbles. It may even have a layer of liquid on the top which is yellowish or even gray. All of these descriptions are fine. If there is any mold (mold is fuzzy), if it’s pink in color, and/or if it smells TERRIBLE, sadly your starter has died, or is at least terminally ill and should be put out of its misery). Don’t worry, you can start over. Incidentally, I’ve got a little photo-essay on how not to care for a sourdough starter where you can see what happens when starter is starved. I’d say it’s not pretty, but it actually kind of is. Check it out if you’re interested.
In order to rise a loaf of bread or any other baking projects that require leavening, your starter will need to be strong and active. (Without a doubt, my biggest hurdle in bread baking has been not working with an active enough starter.) In order to get it to this point after it’s been sitting for a week or more in the fridge you’ll have to feed it.
Sourdough “food” is simple — it’s just a mixture of flour and water. You can use different kinds of flours to keep your SD (short for sourdough) happy and healthy, but the easiest and most common is an all-purpose white flour. I use the PC Organics All-Purpose Flour that comes from Superstore. Your water source should be considered, but I don’t find that it’s a make-or-break distinction. I use Winnipeg tap water that’s been run though a Britta pitcher filter. I’m aware that this water still contains chloramine — which can inhibit the microbial activity of ferments (including sourdough) — but it hasn’t seemed to be an issue. If you know your water to be particularly high in certain minerals or additives you might choose to use bottled or more carefully filtered water.
If you get really into bread baking you’ll learn that different recipes call for different hydrations — how thick or thin the starter is when you use it in a recipe. I keep mine at approximately a 100% hydration, which is to say equal amounts of water and flour by weight. Note I said “approximately”. I do not actually weigh out either one when I mix up my starter “food”. I go by texture.
Maintaining too much starter is just a waste of flour and space, but trying to keep too little going results in having to feed more often, and overall a less vigorous starter. I’ve found that for me mixing up 200ml of water (approximately 1-3/4 cup) and 200 grams of flour make for a good amount overall. My actual technique is to pour about that much water, then slowly stir in flour ’til it’s the right consistency. Measuring the flour might be helpful until you learn to ‘eyeball it’. I use a two-cup glass measure to do my mixing.
Mixing Sourdough “Food” (Flour/Water) from manteega on Vimeo.
Once you have your “food” mixed up, it’s time to add the starter. I like to let my starter come up to room temp before feeding it, so take it out of the fridge a couple hours before mixing up your “food”.
I’m going to now go off on a little aside, but I think it’s important. Almost every set of instructions I’ve ever read on maintaining a SD starter tell you to add your “food” — flour/water mix — to the existing starter, but I like adding the starter to the “food”. Though technically either way should result in the same thing in the same amounts, I think it’s far easier to discard enough starter when you do it like this. Your discard is VERY important. This was a huge stumbling block for me for a very long time. Most instructions say to discard half the starter, to which you then add an equal amount of flour/water SD. Intuitively I was constructing a visual image of feeding the starter, with the emphasis on giving food to the starter microbes, much like adding food to a fish tank. In this visual the fish are analogous to the microbes in the starter. Keeping fish just requires adding enough food often enough that the existing fish stay fed. I was off-base in that I was thinking that the established starter was the important thing. No vigor? Must need to keep more starter and feed those guys. What I was totally neglecting to consider is how fast my “fish” are supposed to multiply and what kind of environment I was fostering! By keeping more starter at feeding time, I was causing a big overpopulation problem, and the whole system was crashing. Their “tank” was choked with dead “fish” and the food I was adding was more of a mean taunt than enough nourishment for the population.
A better analogy is to think of feeding your starter as a wildlife re-introduction operation. Your flour-water mix is like an ecosystem that’s overrun with food, but doesn’t have any predators. What you’re aiming to do is to inoculate this environment with critters who will then be able to eat to their heart’s content, have lots of babies, and contribute good things to the system. You wouldn’t want to straight away add so many that they’re competing for food and starving. Do that and there’s no room for growth. Just adding back a viable population but not too much keeps the environment healthy and balanced. Well, as much as you can manage in a Mason jar. My analogy kinda falls apart here, as in a week or two your reintroduced “predators” will have depleted the food source and you’ll have a microscopic version of the French Revolution on your hands. That’s when you do it all over again.

Back to actual technique… You’ve got your “food” all mixed up and your starter has been out from the fridge for at least a couple hours. Give your existing starter a stir and then pour anywhere from just a half-cup or so to a full equal amount of the starter to your flour/water mix and give that a good stir. THIS is your fed starter. If you don’t want to do any baking you can leave this out for a few hours more, then refrigerate. If you’re not going to use it more or less right away you’ll need to feed this mix again in a week or two if kept refrigerated.
Feeding Sourdough Starter from manteega on Vimeo.
Wait, so now you have fed starter mixed up in your cup, but more old starter still in the jar. Clearly you can’t put your fed starter back in the jar to work ’til you do something with that! What do you do with it?
The remaining starter is your discard. It is spent and won’t have much if any dough-raising power, but it’s not useless! There are MANY things you can do with spent starter including my favorite, pancakes! (My favorite recipes at the end of this article.) I will caution you NOT to say to yourself, “Well, why don’t I just feed that and have lots of starter?” Unless you’re planning on doing LOTS and LOTS of baking and will actually need that much active starter, be strong and commit the discard to a recipe or even the compost or trash. You will become overrun with starter if you don’t. Trust me.
Pour your discard into another container, then return your fed starter to the jar. I, personally, perpetually use the same jar for my starter until it inevitably gets so crusted up with dried starter that I can barely screw the lid on. If you’re more fastidious than myself you could clean your jar each time, but there’s little need. (If you do choose to use a clean jar each time, make sure that it’s very well rinsed. Soap residue could harm your starter.) One of the cool things about sourdough (and other ferments) is that the proper bacterial balance keeps the organic matter from spoiling by altering the pH from one which would foster bad bacteria and mold, to an acidic environment which keeps those things at bay.
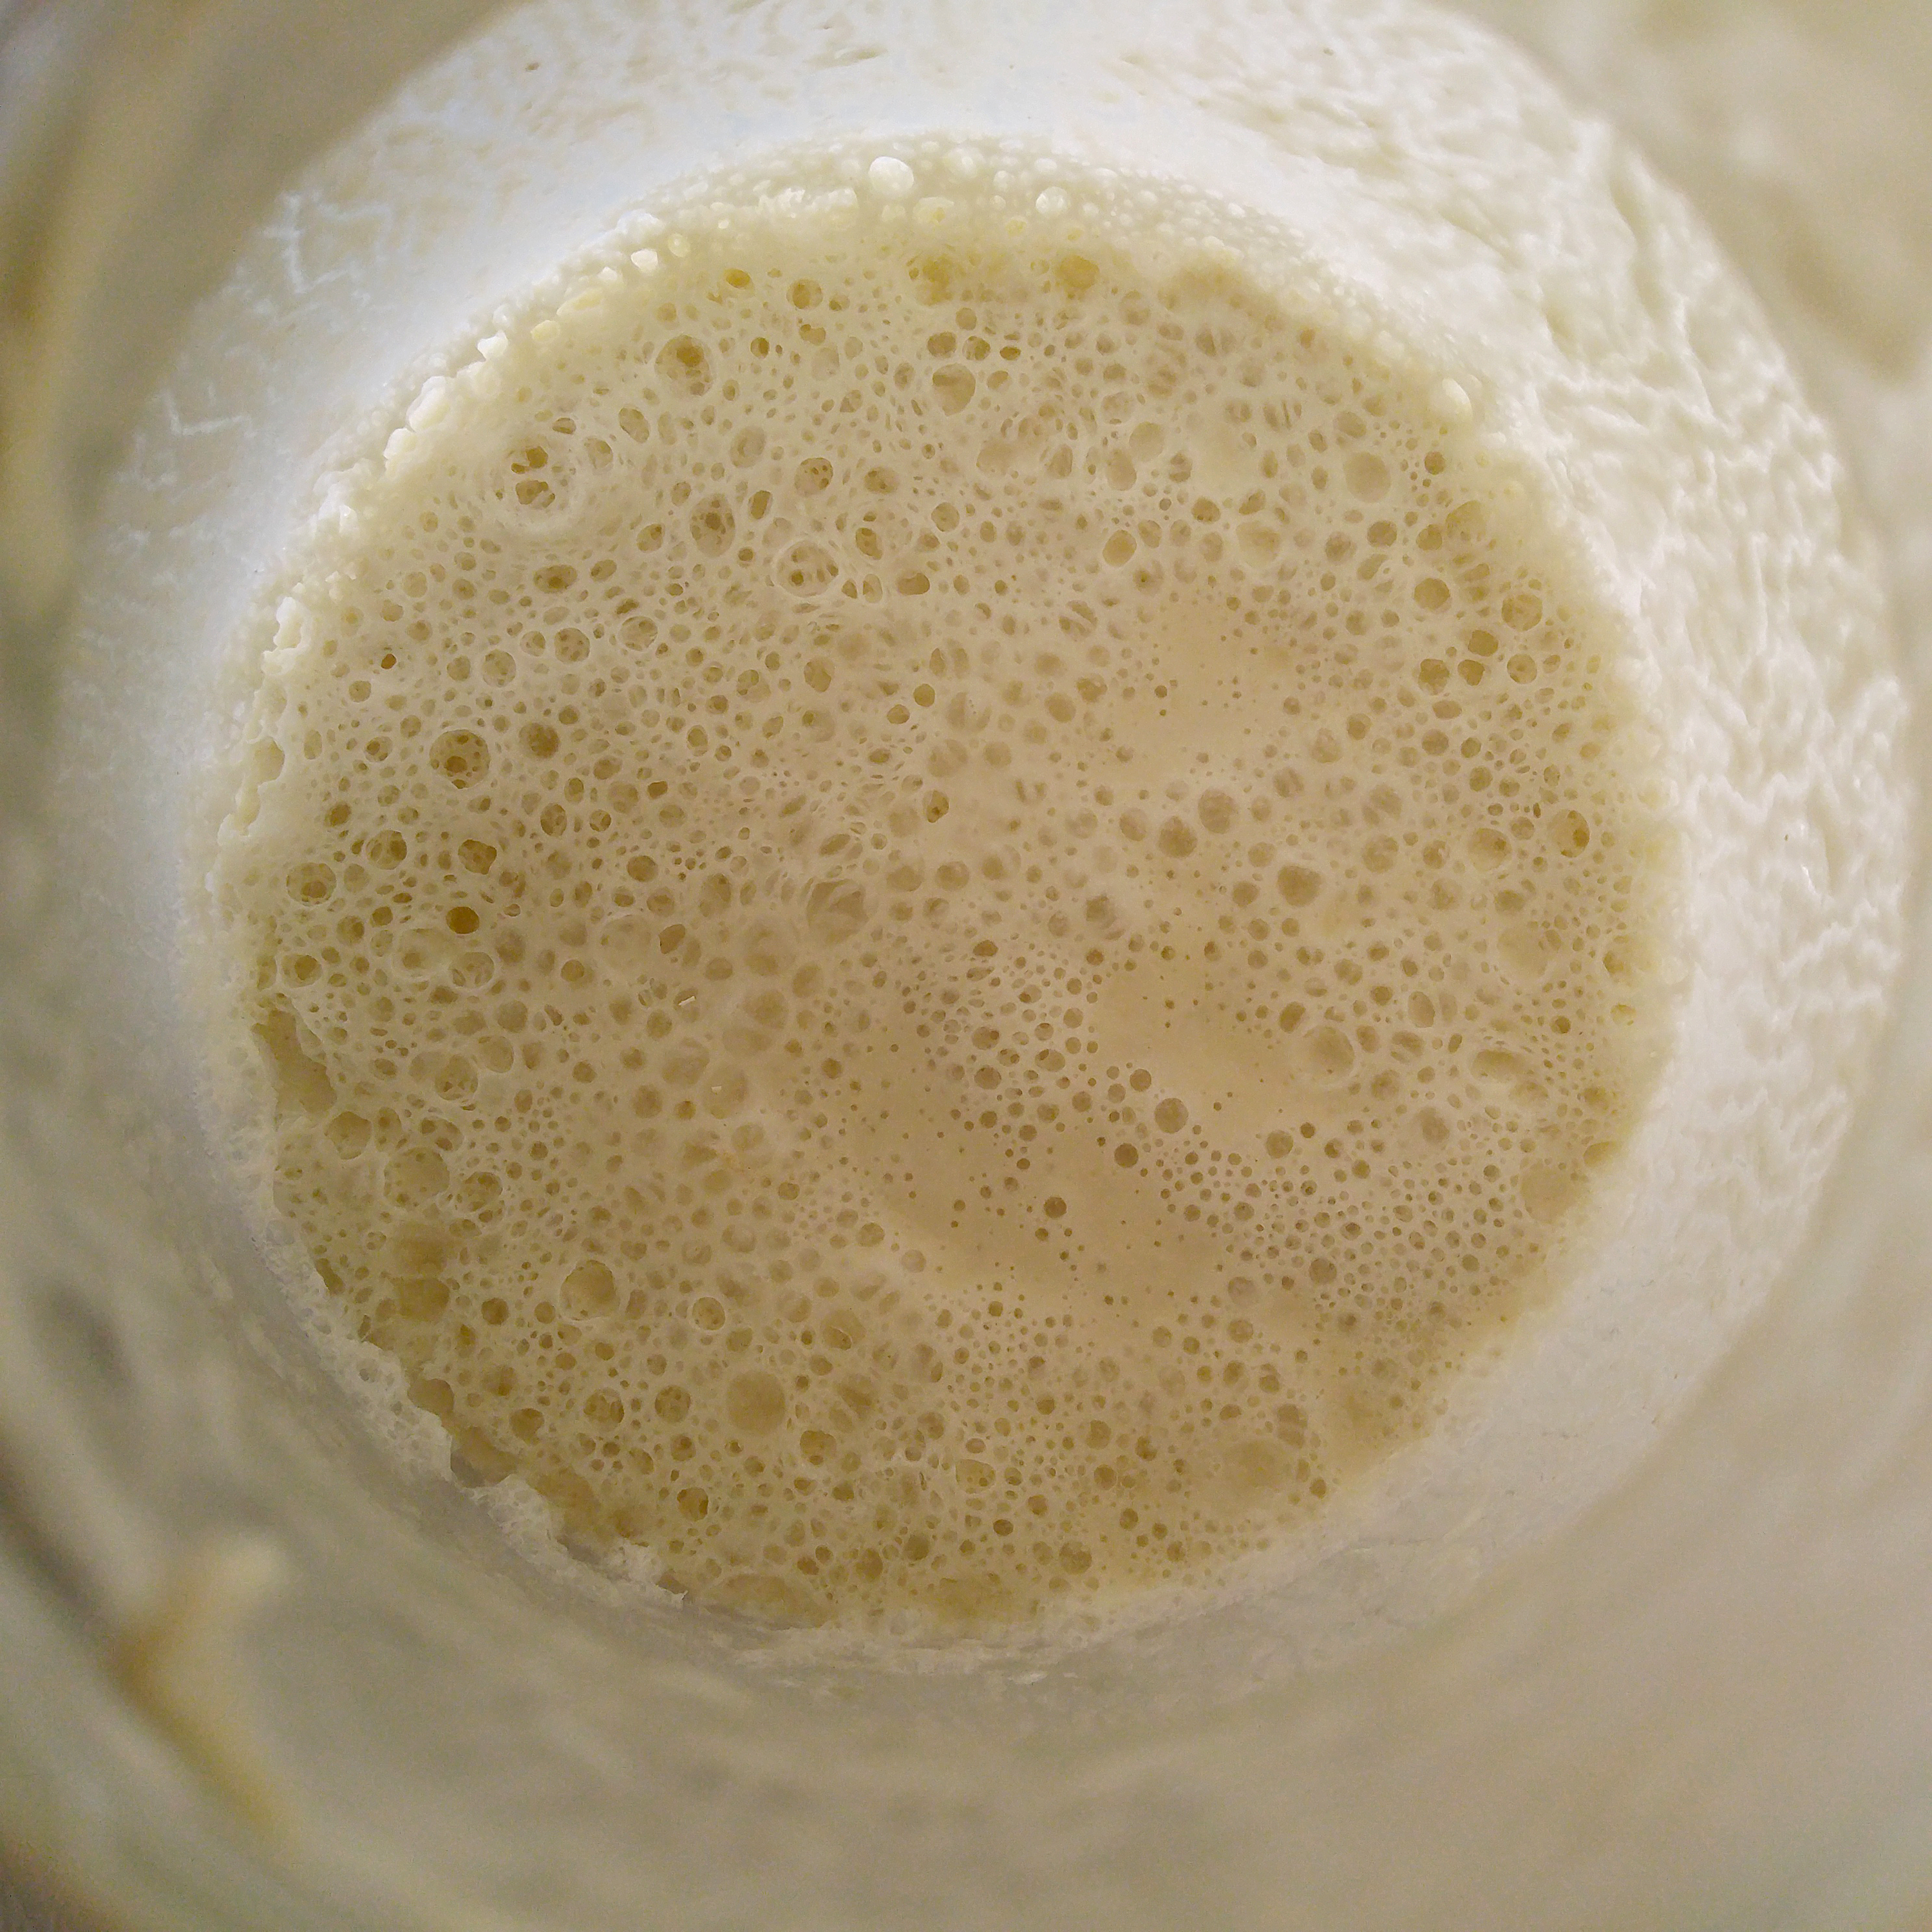
If you’re going to bake with it now, you’ll want to let it work ’til it at least doubles in volume — in other words it should get REALLY bubbly and rise in its jar by quite a lot. If it doesn’t get really really bubbly and expand ’til it’s about squirting out of the jar (or actually does) within about an 8-hour time frame it’s probably not ready. In this case you’ll need to feed it again before starting bread. Unless it’s really exhausted, two feedings should get it active enough to bake. If you need to do a second feeding, you just repeat the steps from above. Use as much fed starter as your recipe calls for, and don’t forget to save some to feed and put back in your jar. You will put this back in the fridge until the next time you want to bake or need to feed it.
RECIPES:
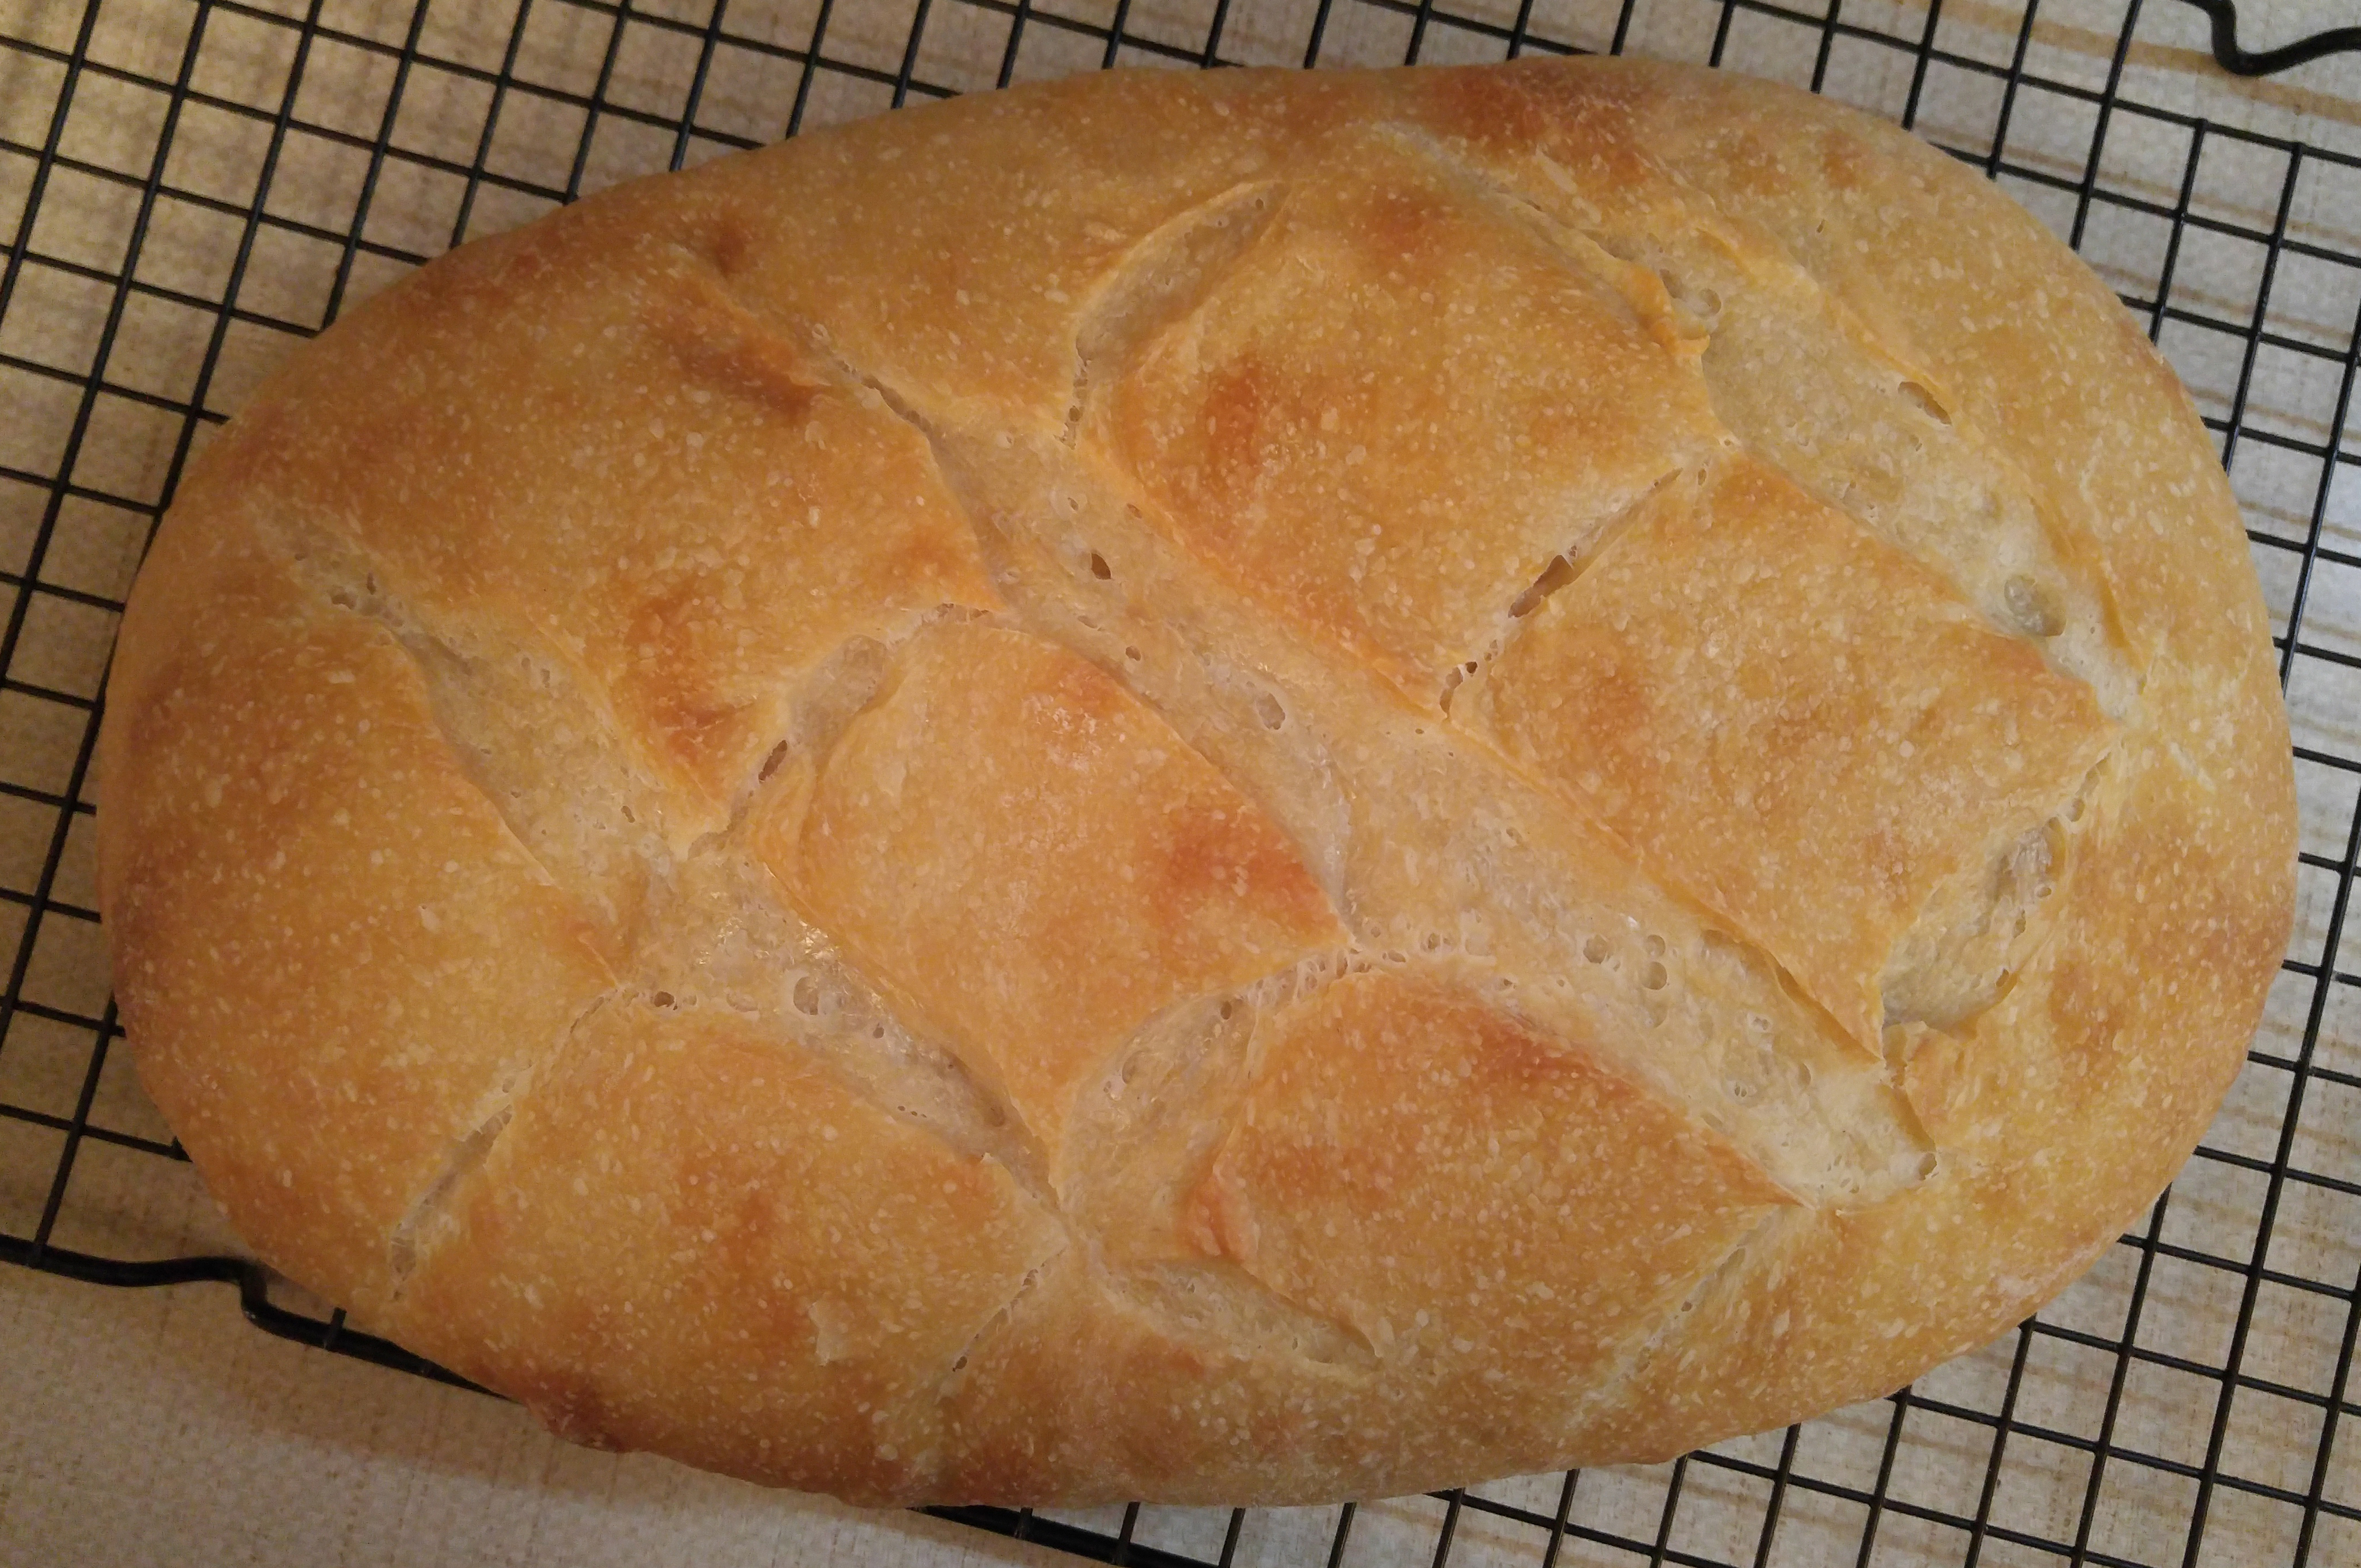
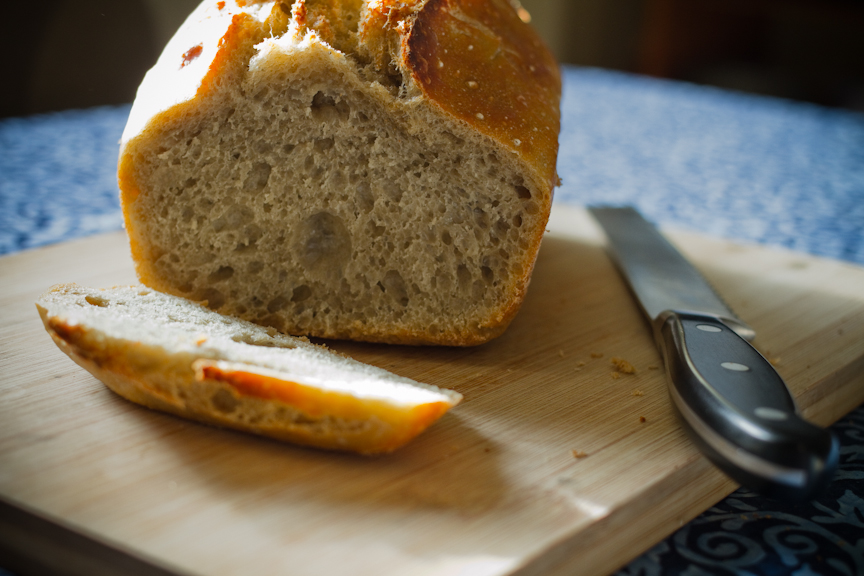
If you’re going to keep a sourdough starter the main goal is probably making a really awesome sourdough loaf of bread at least sometimes. I’ve tried quite a few recipes and techniques, but for a basic loaf of bread, this recipe continues to give me REALLY GOOD results. It’s my go-to for a traditional loaf of sourdough bread.
http://www.theclevercarrot.com/2014/01/sourdough-bread-a-beginners-guide/
Unless I’ve got way too much going on and just compost my starter discard, pancakes are my go-to for using discard. They’re easy, tasty, freeze well, and you can do anything with them. I put in fruit sometimes, or even spinach! I tend to ‘wing it’ on the ingredients these days, but this is a good jumping off point for SD pancakes:
https://www.culturesforhealth.com/learn/recipe/sourdough-recipes/sourdough-pancakes
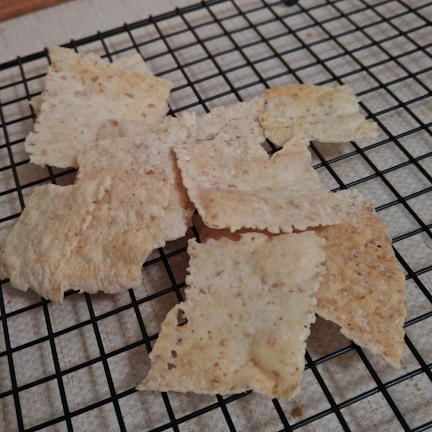
This is my own recipe adaptation and one of my favorite things to do with SD starter — crackers!
https://www.manteega.com/cracker/
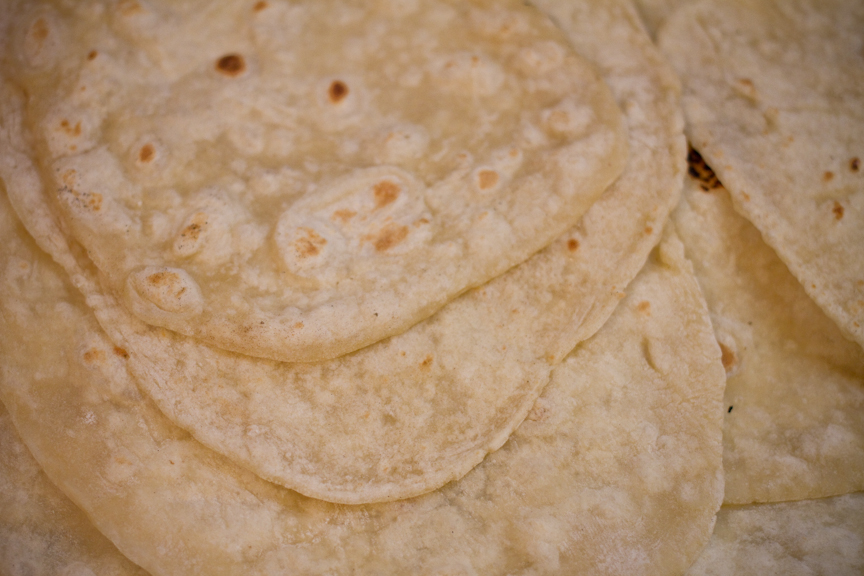
Tortillas are another fun thing. I think I use this recipe, but fully with all-purpose flour. They’re a little time-intensive but SO TASTY and they freeze well.
https://www.growforagecookferment.com/sourdough-tortillas/
So many awesome things, actually, and the sky is the limit. You can adapt ANY yeast recipe to use sourdough starter instead. There are a lot of guides online, but this page I have found to be the most useful, and I’ve adapted several recipes from commercial yeast to sourdough using it.
https://www.sourdoughhome.com/index.php?content=convert
Speaking of so many things, I keep a running Pinterest board for recipes and techniques for not only sourdough, but all kinds of fermenting projects. There are some recipes using sourdough there that I don’t count as essential, but are good, and I’m finding new stuff all the time.
https://www.pinterest.ca/manteega/yeastsourdoughbrewingfermenting/
I think that’s pretty much it! I always re-read these things down the road and cringe at grammar or realize I left something important out, but hopefully there are some useful take-aways here. Good luck with your sourdough!
October 10, 2018